
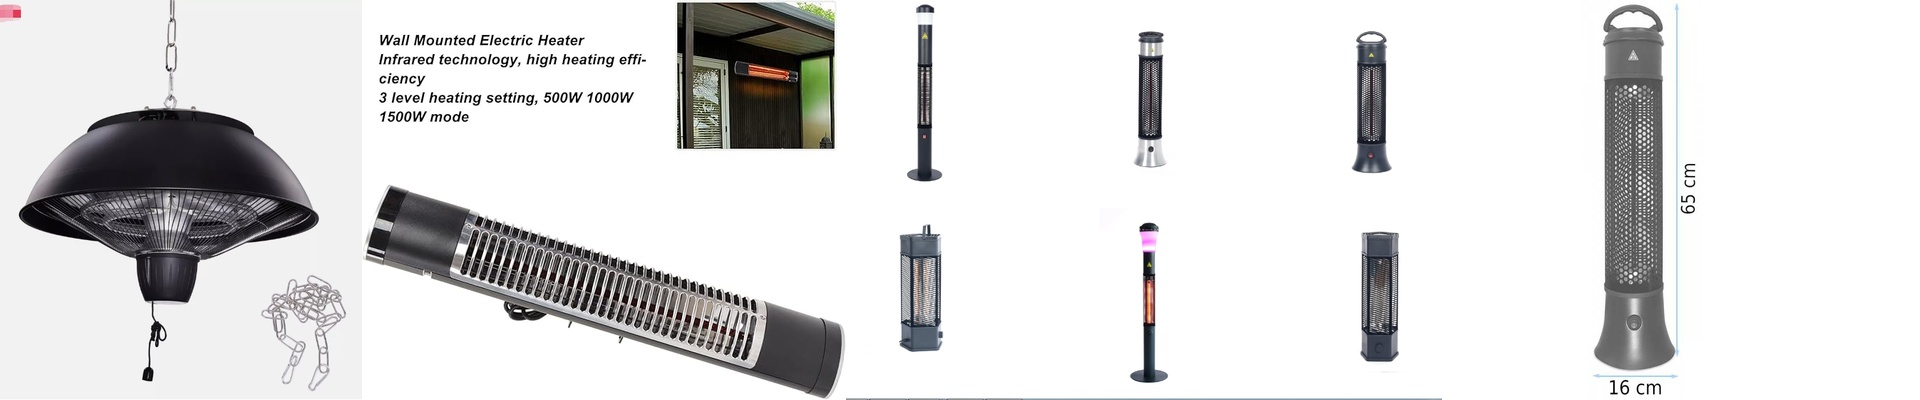

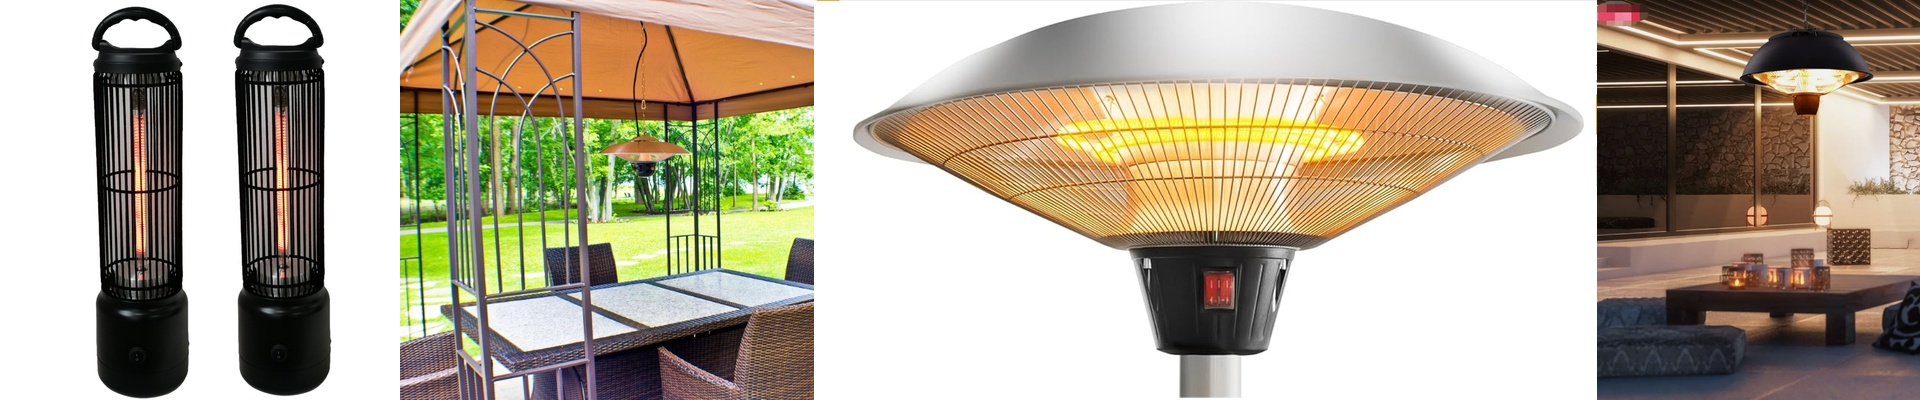
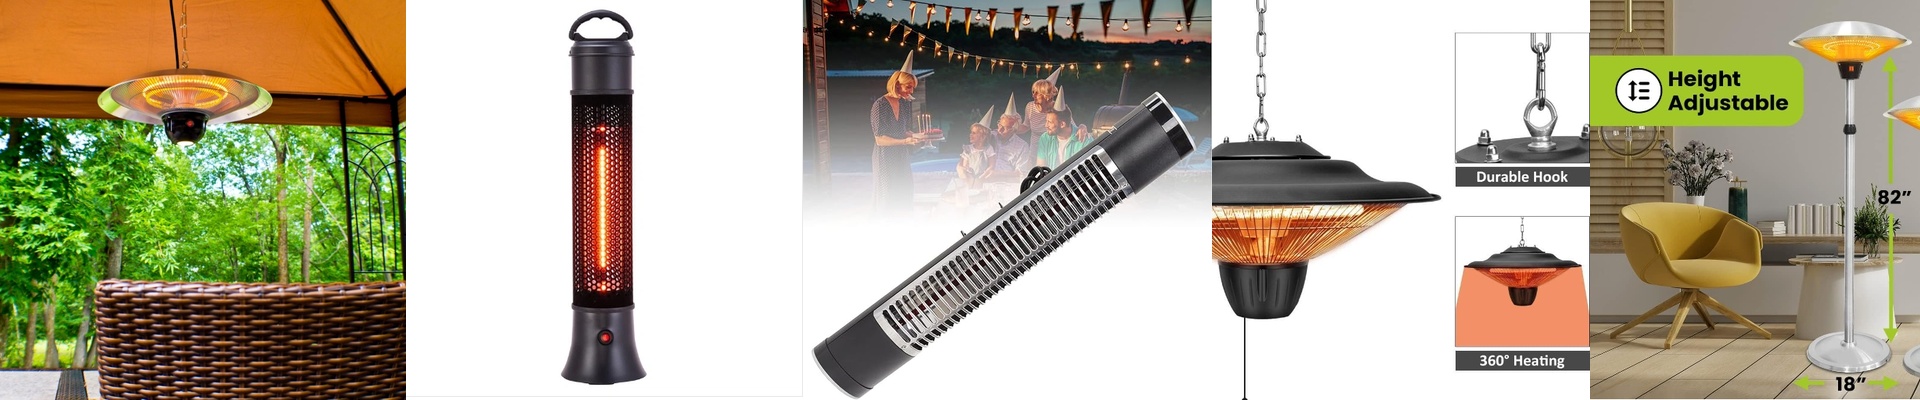
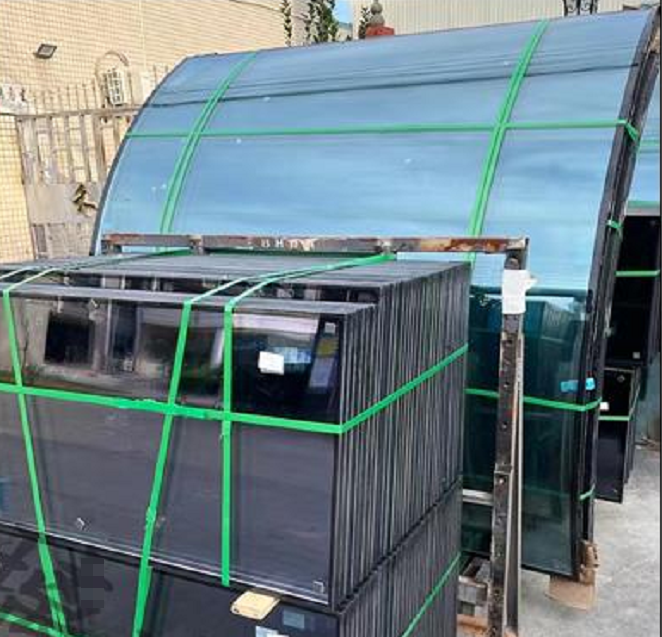
On the insulating glass line, the second pane is waiting, the dispenser is charged, and the schedule is tight. If the hot melt sealant heater can’t hold a tight band of temperature, the bead softens unevenly—stringing, voids, and weak adhesion follow. That’s how you end up with rework, scrap, and a line that stalls right when you need it most. What matters, technically We build these hot melt sealant heaters around medium-wave infrared elements in a quartz envelope, because they respond fast and put the heat directly into the sealant. The goal is a uniform thermal field across the flow path, so the material hits the specified melt window without hot spots that degrade polymers. Output is matched to the applicator duty cycle, with stable control that keeps setpoint in a narrow band. The heater body is compact, with standard mounting and terminals sized to retrofit into existing dispense modules. Why this approach fits the process In insulating glass sealing, you need adhesion you can count on, clean beads, and a process that keeps pace. A stable hot melt heater cuts cycle time by reducing warm-up drift and limiting temperature overshoot. That means fewer rejected units, less sealant scrapped, and throughput that doesn’t yo-yo. It also helps control thermal stress on coated or tempered lites near the seal zone, where uncontrolled heat can set off unwanted stress patterns. Here’s what to keep in mind Installation is straightforward, but alignment is everything. Position the heater so the radiant pattern covers the bead path without overheating adjacent metal parts—those localized hot spots will bite you. Expect a short warm-up after each start; plan changeovers around it. For the best results, match the heater to the dispense head geometry and make sure the control strategy is tuned to the sealant’s temperature sensitivity.